The Best Fluffy Pancakes recipe you will fall in love with. Full of tips and tricks to help you make the best pancakes.
Autopsy is an open-source digital forensic platform. It is also used as a commercial forensic tool in several investigations. It is a hard drive investigation instrument. Autopsy was designed to be intuitive out of the box. Installation is easy and wizards guide you through every step. All results are found in a single tree. Thus, it is very easy to use. Another great advantage of Autopsy is that the single user case type is totally free to use.
Autopsy as a Vital Digital Forensic Tool
In any sort of investigation external memory devices play a very vital role. As devices like CDs, DVDs and pen drives are external devices they are often used by the criminals as they are easy to destruct and leave very less evidence of there existence to share information among themselves. Thus when an external device is found relating to the case which in present day scenario is mostly pen drives or USB drives, they may result in some significant evidence to the case.
It is very evident that no criminal will possess an USB device or even get rid of one with essential information in it. Mostly the data in the drives are deleted almost immediately after receiving them to not let the data cast a shadow of evidence. However, Autopsy allows us to retrieve those deleted files. But how can that be done? Let’s see.
Process to Recover Deleted Files from an USB Drive
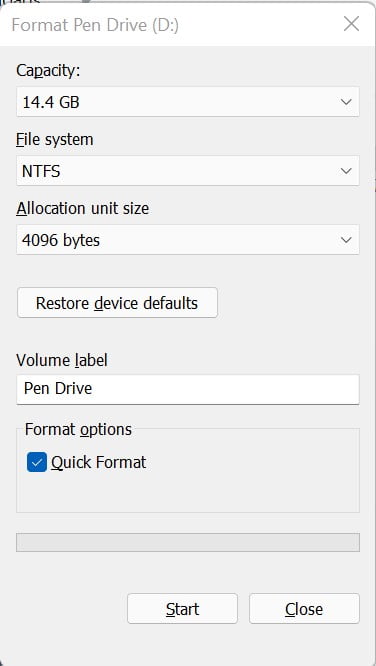
Step 1: At first we need a NTFS formatted pen drive.
Step 2: We check the files in our Drive.

Step 3: Delete the files permanently from the device so that it cannot be retrieved anyhow from any usual sources viz. recycle bin.


As we can see now the pen drive is completely empty and all its old files r permanently deleted.
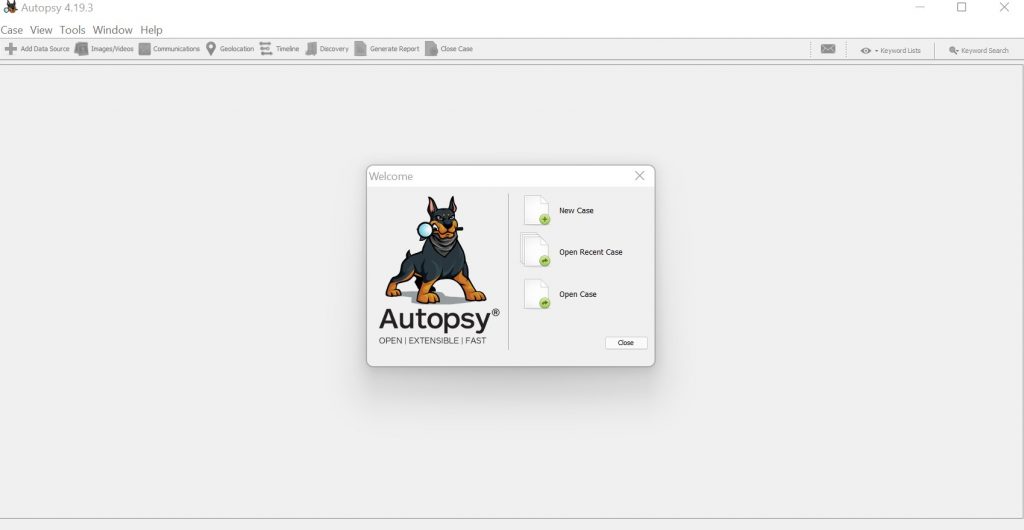
Step 4: Now we open Autopsy and create a new case. Select New Case from the Welcome dialogue box.
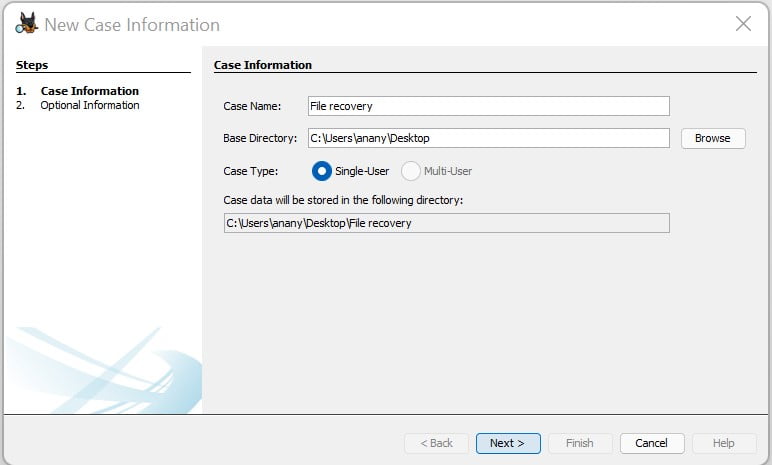
Step 5: The New Case Information dialogue box will open. Give a Case Name in the Case Name section and select the Base Directory where desired to be saved. Click on Next.
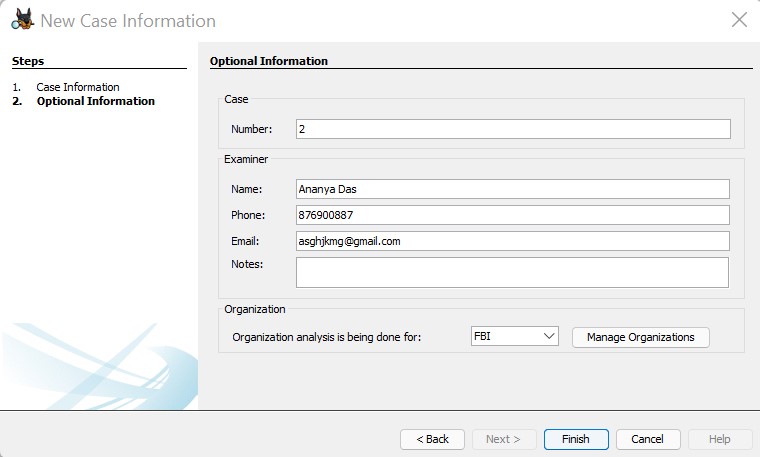
Step 6: In the Optional Information sub-dialogue box provide a number to the case and provide the Examiner Details. Autopsy always requires you to provide the Organization details which can be managed in the Manager Organizations section. Then click on Finish.
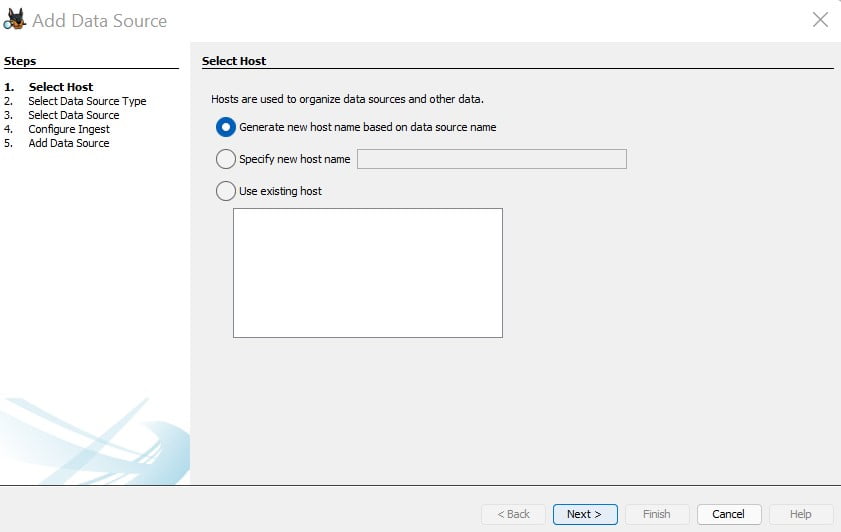
Step 7: The Add Data Source Dialogue Box opens. In the Select Host select Generate new host name based on data source name which is the default option. Click on Next.
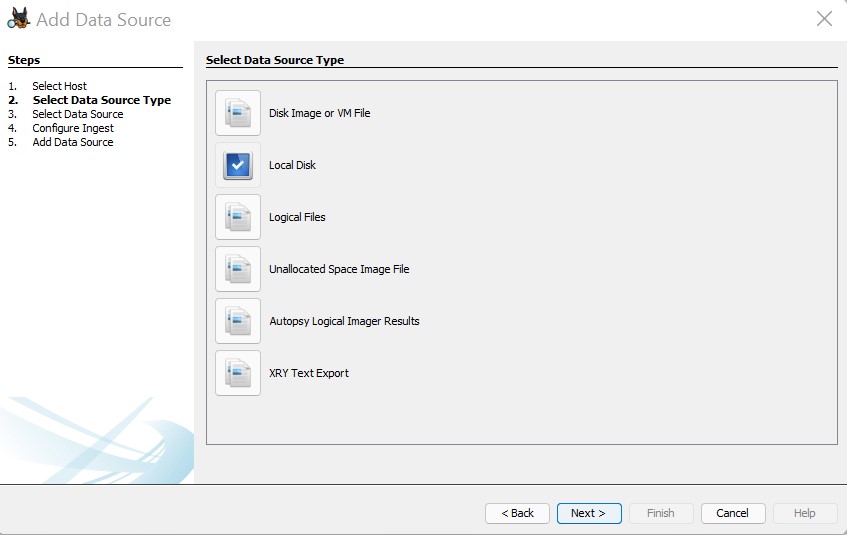
Step 8: In the Select Data Source Type Step select Local Disk for external devices viz. Pen drives in this case and click on Next.
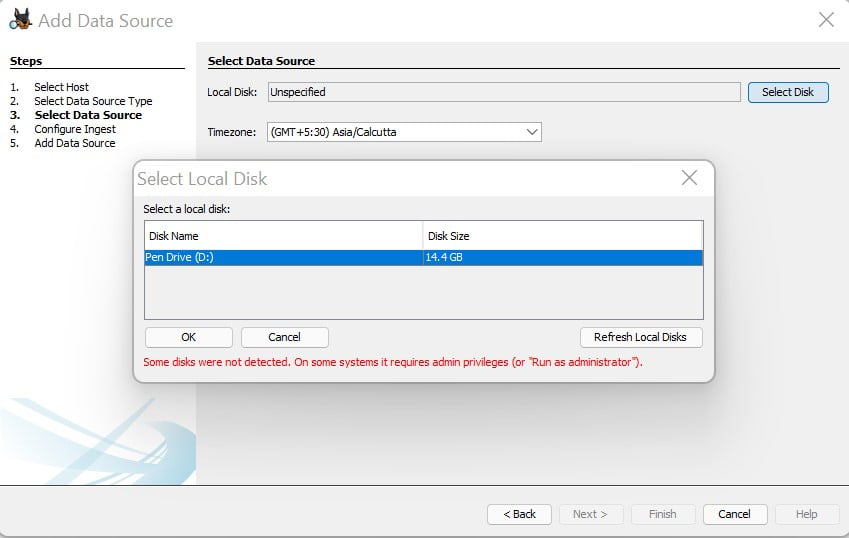
Step 9: For the Select Data Source we need to select the Local Disk you want as the Data Source. In this case we will select our Pen Drive from the Select Disk tab and click on OK.
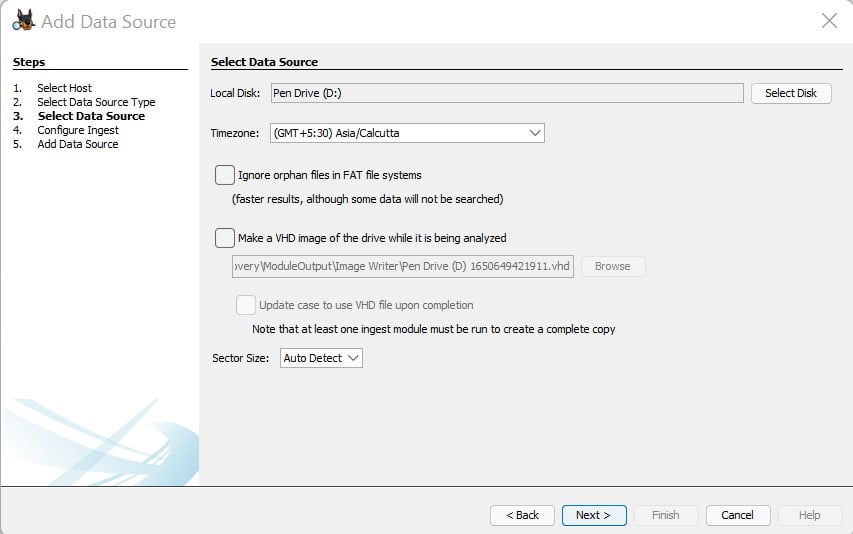
Keep the remaining settings as it is and click on Next.
Step 10: In the Configure Ingest Step we have kept everything checked and moved on by clicking on Next.
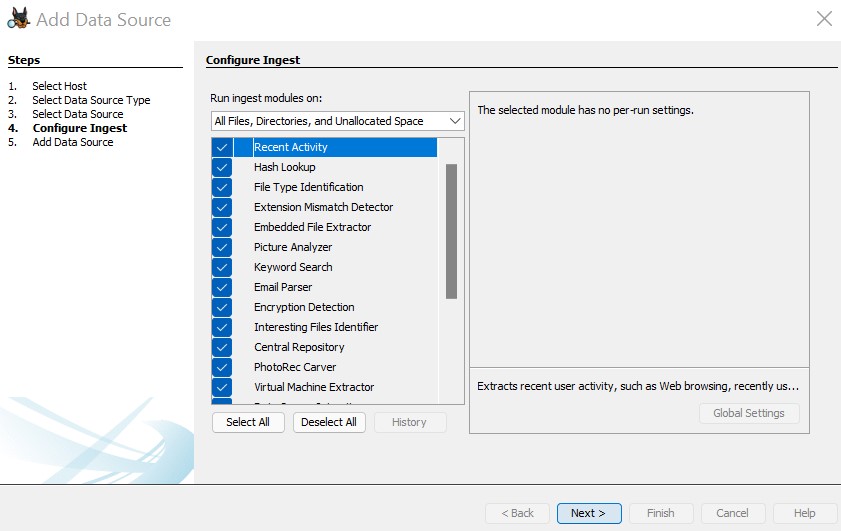
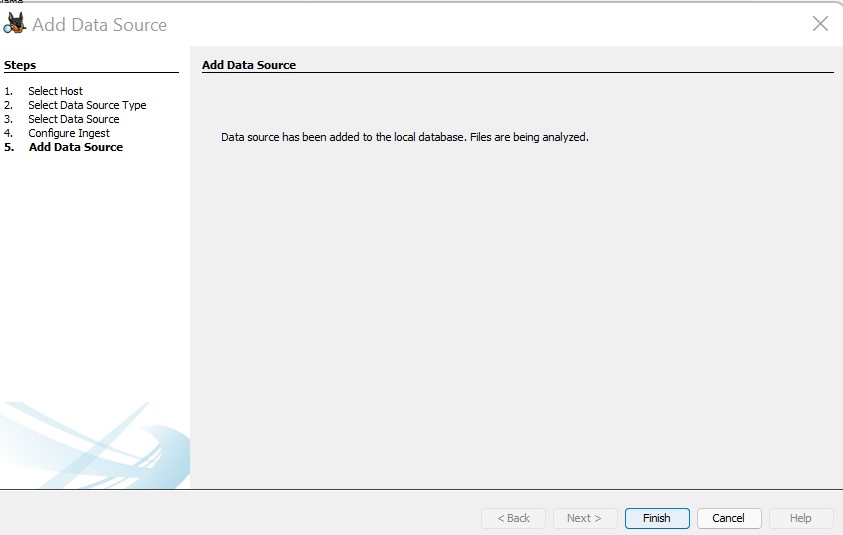
Step 11: Click on Finish on the Final Add Data Source Step in the Add Data Source dialogue box.
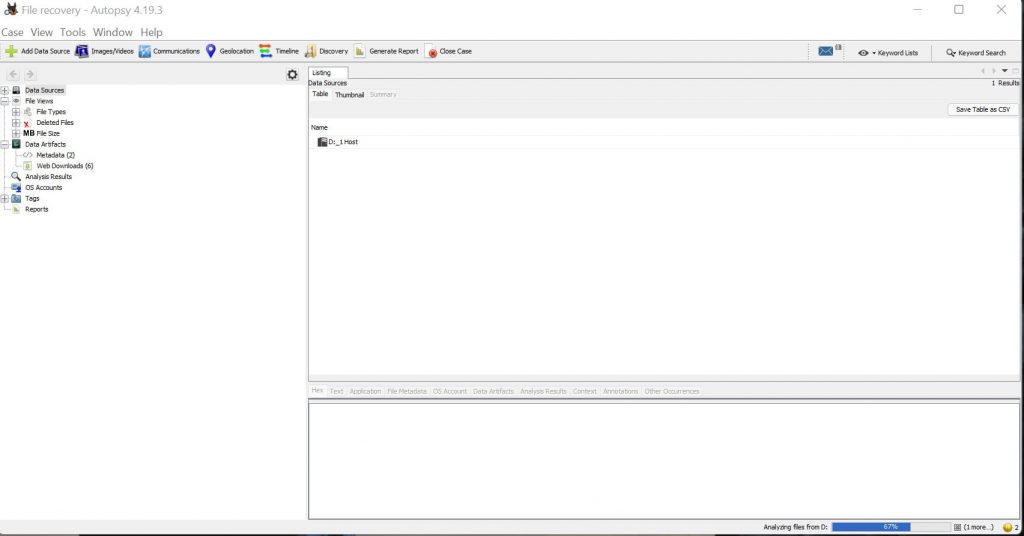
Step 12: The Autopsy Main Window open with all the available operations on the left panel.
The Left Panel:
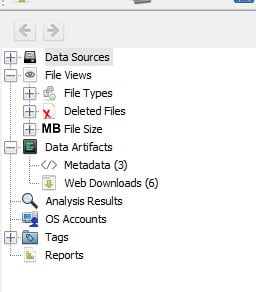
Step 13: Since we want to view the deleted files we expand the Deleted Files section
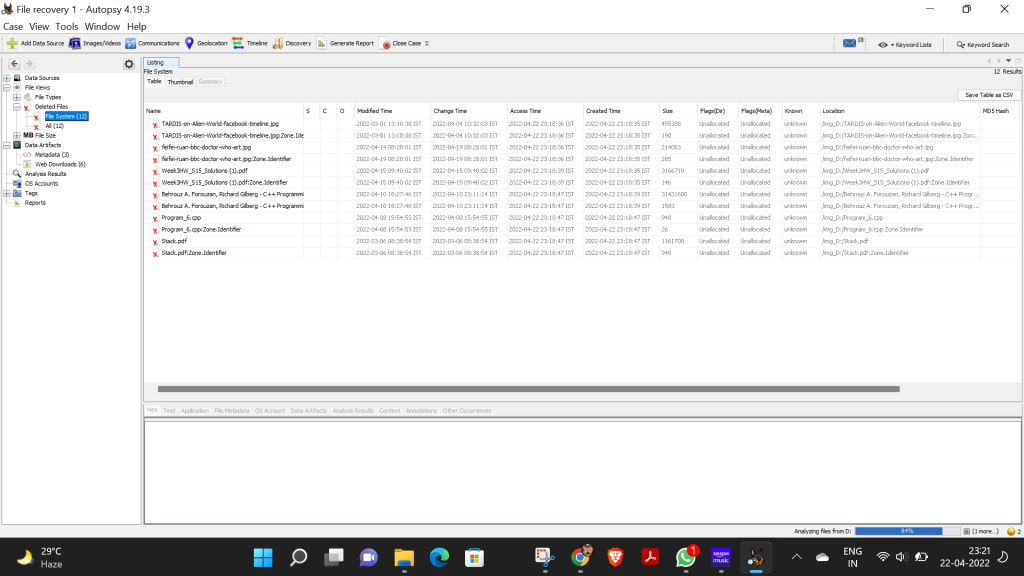
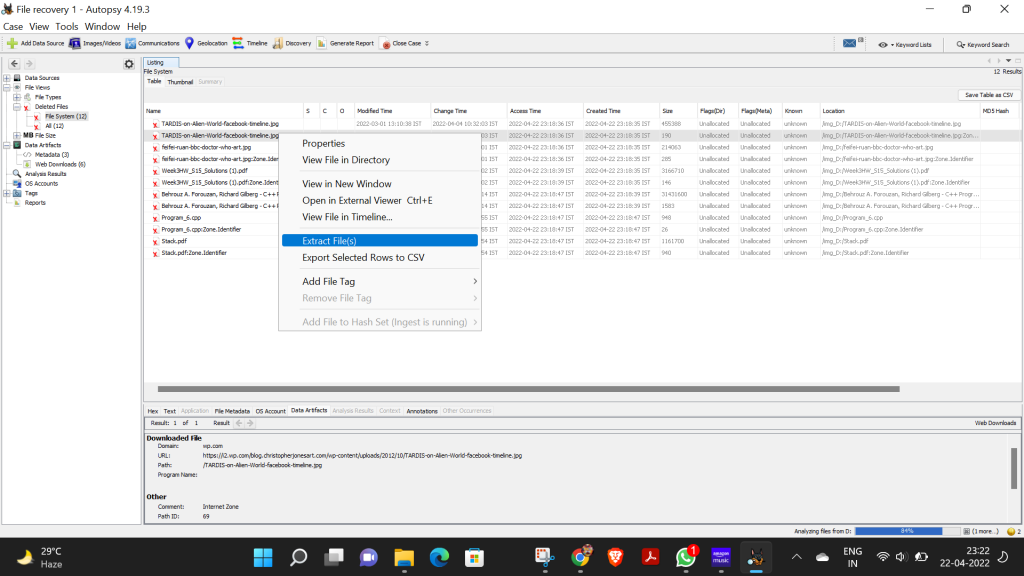
We then extract the desired files. And select the place where you wanna restore the files. For this case I have restored the files back into the Pen Drive.
Step 14: After extraction of two files, we can see that they are available in the Pen Drive again.
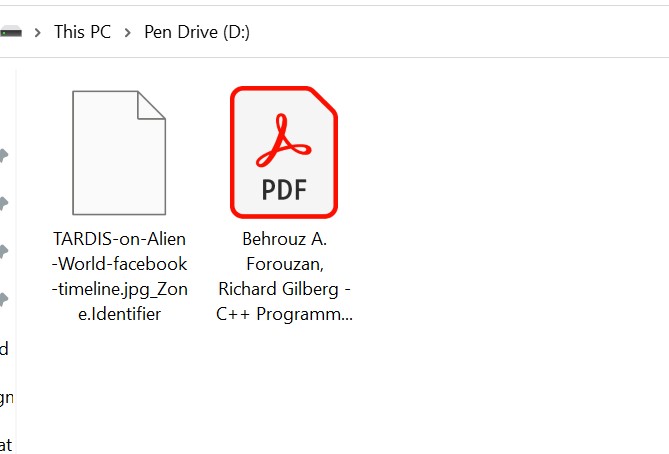
This is how we recover deleted files from an external memory device like a Pen Drive.
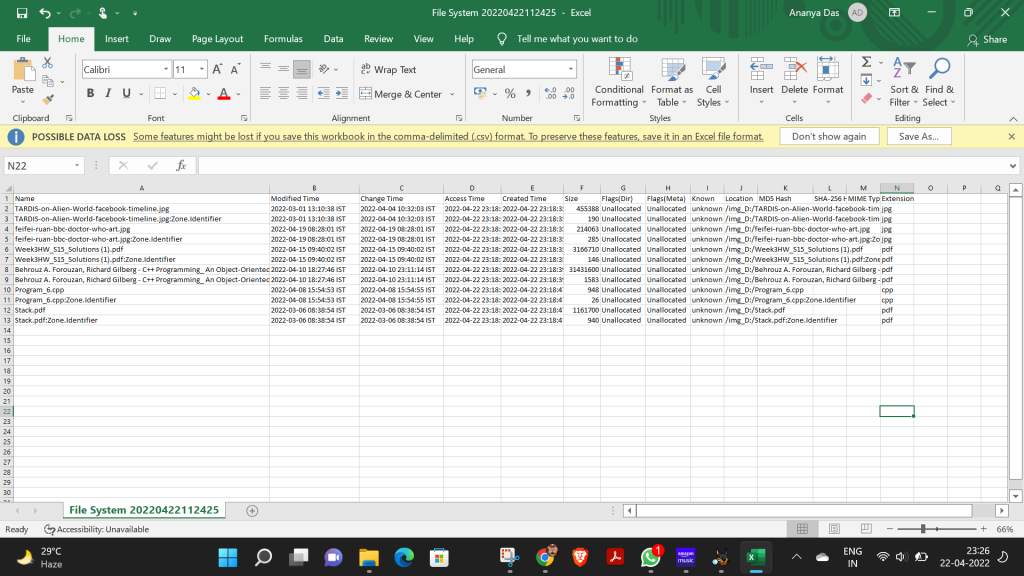
We can obtain a CSV file of all the deleted files from the Pen Drive for Record Maintenance.
Official Autopsy Website : Click here
Download Autopsy : Click Here
Read More
https://thecyberdelta.org/how-to-know-if-your-phone-is-hacked/
https://thecyberdelta.org/beef-framework-1-0/
https://thecyberdelta.org/all-about-dark-web/

